Written by Ben Kurata
Thoughts on equipment placement, conditioned response, reaction time, Hick’s Law, the 21 foot guideline, and the OODA loop
Disclaimer 1: I do not consider myself to be an expert on any of the above topics. I am, however, really good at asking questions. I am a serious student of human behavior under stress.
Disclaimer 2: In no way what I write should be misinterpreted as passing judgment on the Officer(s) involved. In the past, I have been judged by people who were not beside me when bad things happened. I refuse to be a “Monday morning quarterback” to situations I was not involved in.
Disclaimer 3: The above title gives the reader an insight into how my mind works. I struggle on a good day to have an independent thought. I have had the privilege, however, to have trained with some absolutely brilliant thinkers / operators / teachers. I will attempt to give them the credit they deserve.
Recently, a transit Officer was convicted of homicide after he shot an individual to death while attempting to control the subject’s behavior. According to the Officer’s testimony, he thought he was reaching for his Taser but discharged his duty firearm instead, killing the subject.
Now, I am not here to pass judgment on the Officer’s actions, as I was not there. But for some time, I have recommended that Tasers be mounted on the duty belt on the non-dominant side, with the grip pointed backward, NOT in a cross-draw position. Why? Well, over the course of his / her career, a LEO may pull their handgun from its holster hundreds, maybe thousands of times during in-service training and qualification. A LE Trainer may pull a handgun from its holster tens of thousands of times.
Question:
How many times does an average LEO pull a Taser from its holster and discharge it? In most departments that I have trained with, after initial training (with its “special” videotaped moments), the only time a Taser gets pulled from its holster is when it is used on a subject. I know of no in-service or qualification live fire course of fire for the Taser.
What’s the point?
Well, many years ago, someone much wiser than I will ever be said:
“Under stress, you will revert to what you do most often or most recently.”
I only wish I could remember who told me that so I could give them credit. The point is, the dominant hand has been conditioned by hundreds (if not thousands) of repetitions to access and fire the handgun, not the Taser.
Similarly, I wish I could have a dollar for every time I saw on the range a cell phone or pager get pulled from the belt and forcibly stuffed into the magazine well of a weapon. Why? Because the operator was reverting back to the location and object on his / her duty belt that (s)he accesses most often in the course of a day – dozens of times.
Many years ago, fellow Action Target Instructor Dennis Tueller established the 21 foot guideline which has been misinterpreted over the years as the “21 foot rule”. While not diminishing the validity of what Dennis established, I can say that for the average LE Instructor (who, in theory, should be smoother and quicker at presenting the duty handgun from the duty holster) the average reactionary gap when wearing a Level II or Level III retention holster is more like 40 – 60 feet. That is with the outcome pre-determined – draw the handgun and place one or two well-placed shots on an inert practice target. Under the stress of a life -threatening attack, reaction time can double, quadruple, or deteriorate even more. Why? Well, some definitions may be useful:
Reaction Time:
“Reaction time has sometimes been described as a function of Hick’s law:
(1) H = log2(n + 1).
(2) H = Σ pi log2(1/pi + 1).
H = the information-theoretic entropy of a decision.
n = the number of equally probable alternatives.
pi = the probability of alternative i for n alternatives of unequal probability.
The time it takes to make a decision is roughly proportional to H, the entropy of the decision (the log of the number of alternatives), i.e. T = k H, where k ~ 150 msec” 1
Now, I have no idea what that means, but it may be useful in calculating the probability of getting a raise or the budget you submitted. “Entropy of the decision” is the scientific way of saying “brain cramp”! What is important to note is that formula was established by test subjects that were not being presented with life-threatening stimuli, and under ideal conditions, reaction time is a logarithmic, (12, 22, 32, etc.) not an arithmetic (1 + 1, 2 + 1, etc.) variable.
Now, how many use of force options does the average Officer have?
- Presence;
- Verbal instructions / commands;
- Empty hand techniques;
- Aerosol spray;
- Baton;
- Taser;
- Radio;
- Lethal force, which can include:
- Handgun;
- Folding knife;
- Baton, if targeted on “red” areas of the anatomy;
- Shotgun;
- Patrol Rifle;
- Improvised weapons (“Bumper – 06”);
- Etc.
And, let us not forget that word that has been pounded into every Officer’s head (and we have to share the responsibility for this one): Liability.
Now, let’s add the one factor that throws almost all probability theory out the window: Life – threatening stimuli.
A concept which may be more useful in understanding actual reaction time under life – threatening circumstances may be USAF Lt. Col. (Ret.) John Boyd’s OODA loop. It is not my intention here to recap my understanding of the OODA loop. (For an excellent summary, please locate and read Ken Good’s article, “Got a Second? Boyd’s OODA Cycle in the Close Quarter Battle Environment”.) Suffice it to say that after being in and running a few force-on-force simulations, most people (including myself) make mistakes in the initial Observation phase and then get caught in what Ken Murray describes as a “goofy loop” 2 – unable to make an appropriate decision as to what to do next. Or, caught on the reaction (wrong) side of the action / reaction curve.
So What?
Well, let me just throw this out for thought:
- All less lethal tools (including radio, pager, and cell phone) on the non – dominant side of the duty belt / LBE, etc., accessed and practiced with the non-dominant hand.
- All lethal force tools on the dominant side of the duty belt, accessed and practiced with the dominant hand.
Now, please don’t misinterpret me. I am not saying to stop practicing wounded / disabled drills. Now, more than ever, I practice accessing, shooting, reloading, and clearing stoppages with the non – dominant hand AND EYE only. It all boils down to, “Under stress, you will revert to what you do most often or most recently.”
(If you are the trainer who said that to me many years ago, please contact me so that I can give you proper credit.)
Notes:
1. https://www.usabilityfirst.com/glossary/hicks-law/
2. Kenneth R. Murray, “Training at the Speed of Life, Volume 1”, copyright Armiger Publications, 2004.
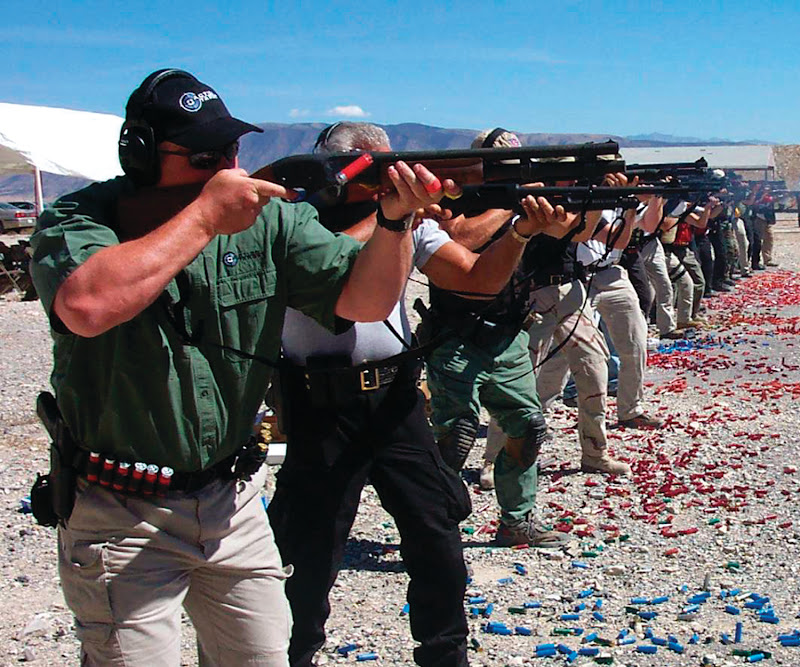
This year’s LETC provides highly qualified instructors with backgrounds consisting of the Safariland Shooting School, Hoffner’s Training Division, Team Spartan, GLOCK Training, Bill Rogers Shooting School, and the Action Target Academy. Combining high caliber instruction with an effective and comprehensive curriculum makes LETC one of most anticipated events among law enforcement agencies from the U.S. and abroad.
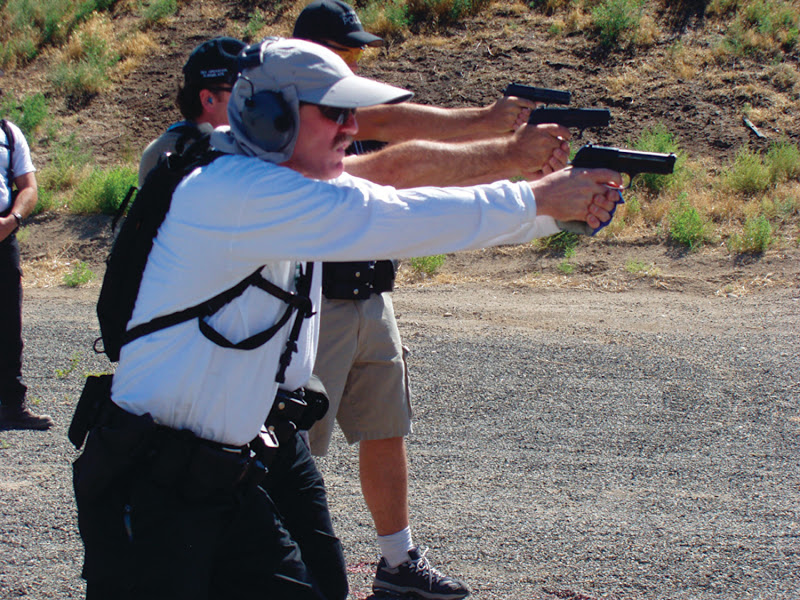 High Performance Handgun


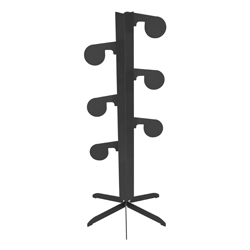
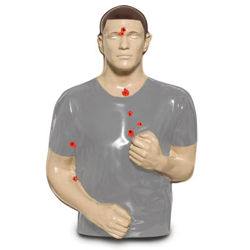
 Until recently, there were only paper targets replicating the pelvic area of the body, but with the Pelvic Torso, you now have the first and only steel target option in the world that simulates this area. The steel provides instant feedback to multiple senses as you hear the bullet strike and see the steal plate swing upon impact.